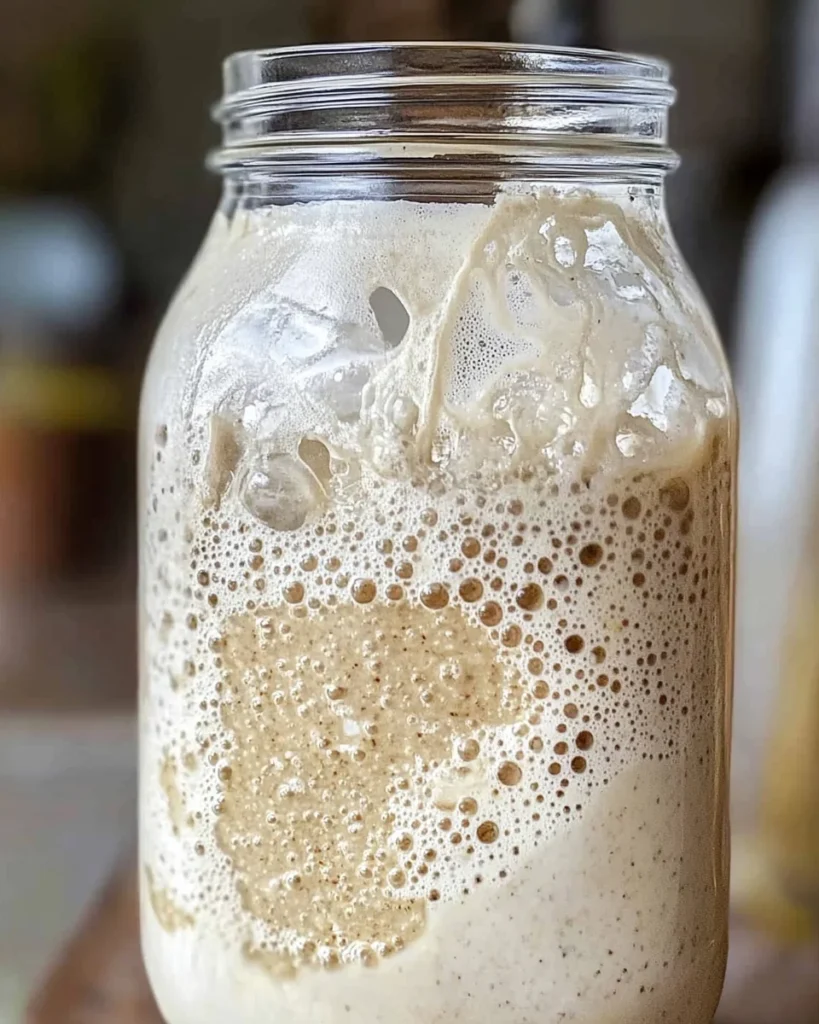
With just a few simple ingredients, you can create your own sourdough starter that will elevate your homemade bread. A sourdough starter is not only cost-effective but also adds a depth of flavor and texture to your baked goods. This versatile mixture is perfect for various occasions, whether you’re preparing a family dinner or impressing guests at a gathering. The satisfaction of nurturing your starter and watching it grow is truly one-of-a-kind!
Why You’ll Love This Recipe
- Easy to Make: All you need are flour and water to start your sourdough journey.
- Flavorful Result: Homemade sourdough brings a tangy taste that store-bought bread can’t match.
- Versatile Use: Your sourdough starter can be used in many recipes beyond just bread, including pancakes and waffles.
- Cost-Effective: Save money by making your own starter instead of buying commercial yeast.
- Sustainable Baking: Creating a starter reduces waste since you can use it repeatedly.
Tools and Preparation
Before diving into the steps to create your sourdough starter, gather the necessary tools. Having everything ready will make the process smooth and enjoyable.
Essential Tools and Equipment
- glass jar (or bowl)
- paper towel
- rubber band
Importance of Each Tool
- Glass jar: Allows you to easily monitor the growth of your starter while preventing contamination.
- Paper towel: Keeps out dust while letting air circulate, which is crucial for fermentation.
- Rubber band: Helps you mark the level of the mixture, so you can see how much it’s expanded over time.
Ingredients
To make your own sourdough starter, you will need:
For the Sourdough Starter
- ½ cup flour, (whole wheat or unbleached all-purpose)
- ¼-⅓ cup water, (75°F is ideal)
- 1 glass jar, (or bowl (about 32 ounces))
- 1 paper towel
- 1 rubber band
How to Make Sourdough Starter
Step 1: Combine Flour and Water
In your glass jar or bowl, mix together the ½ cup flour with ¼-⅓ cup water. Stir until there are no dry clumps left.
Step 2: Cover Your Mixture
Place a paper towel over the top of the jar. Secure it with a rubber band to keep it in place while allowing airflow.
Step 3: Let it Ferment
Leave the mixture at room temperature for about 24 hours. This period allows wild yeast from the air to begin fermenting the flour.
Step 4: Feed Your Starter
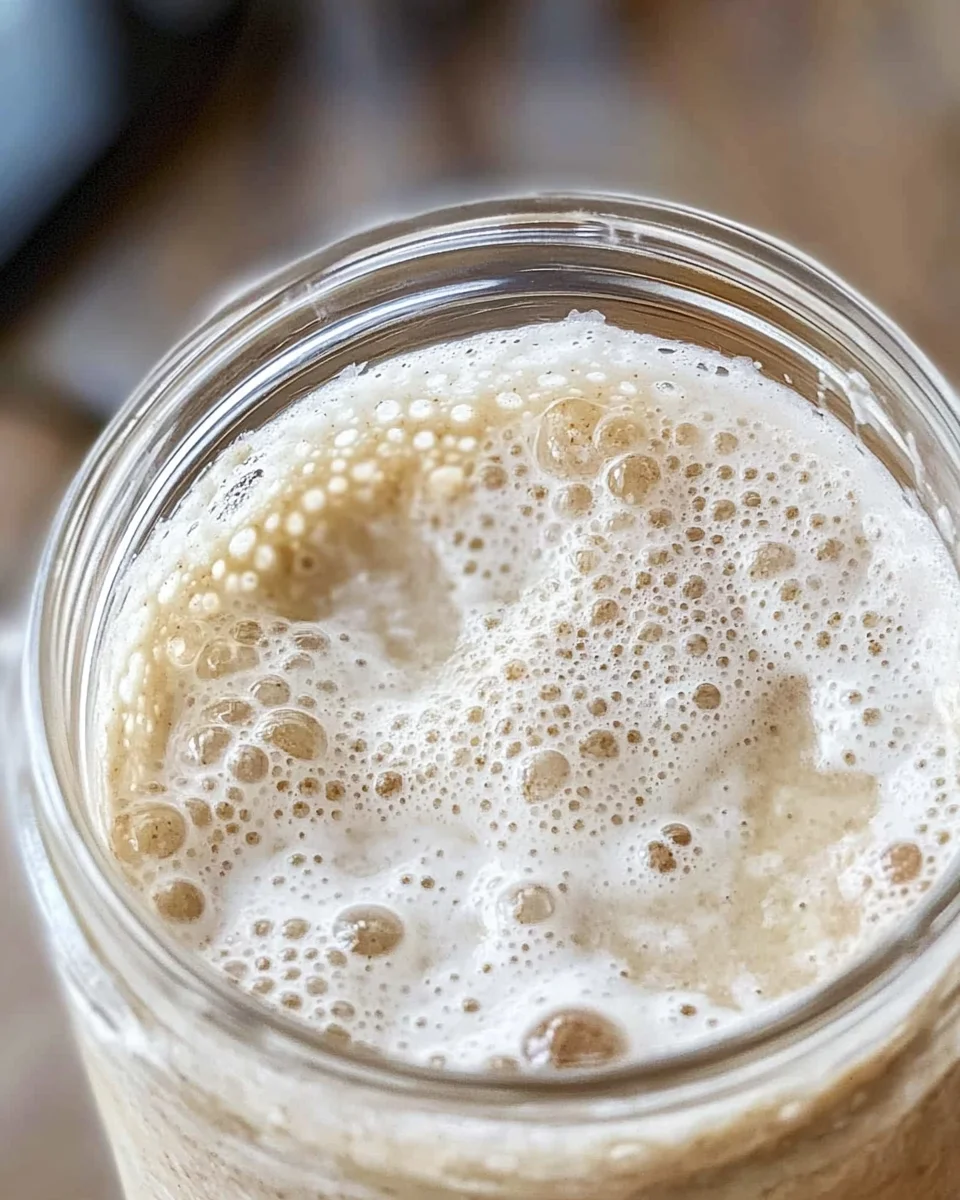
After 24 hours, check for bubbles on the surface. If present, discard half of the mixture and add another ½ cup flour along with another ¼-⅓ cup water. Mix well and cover again.
Step 5: Repeat Daily
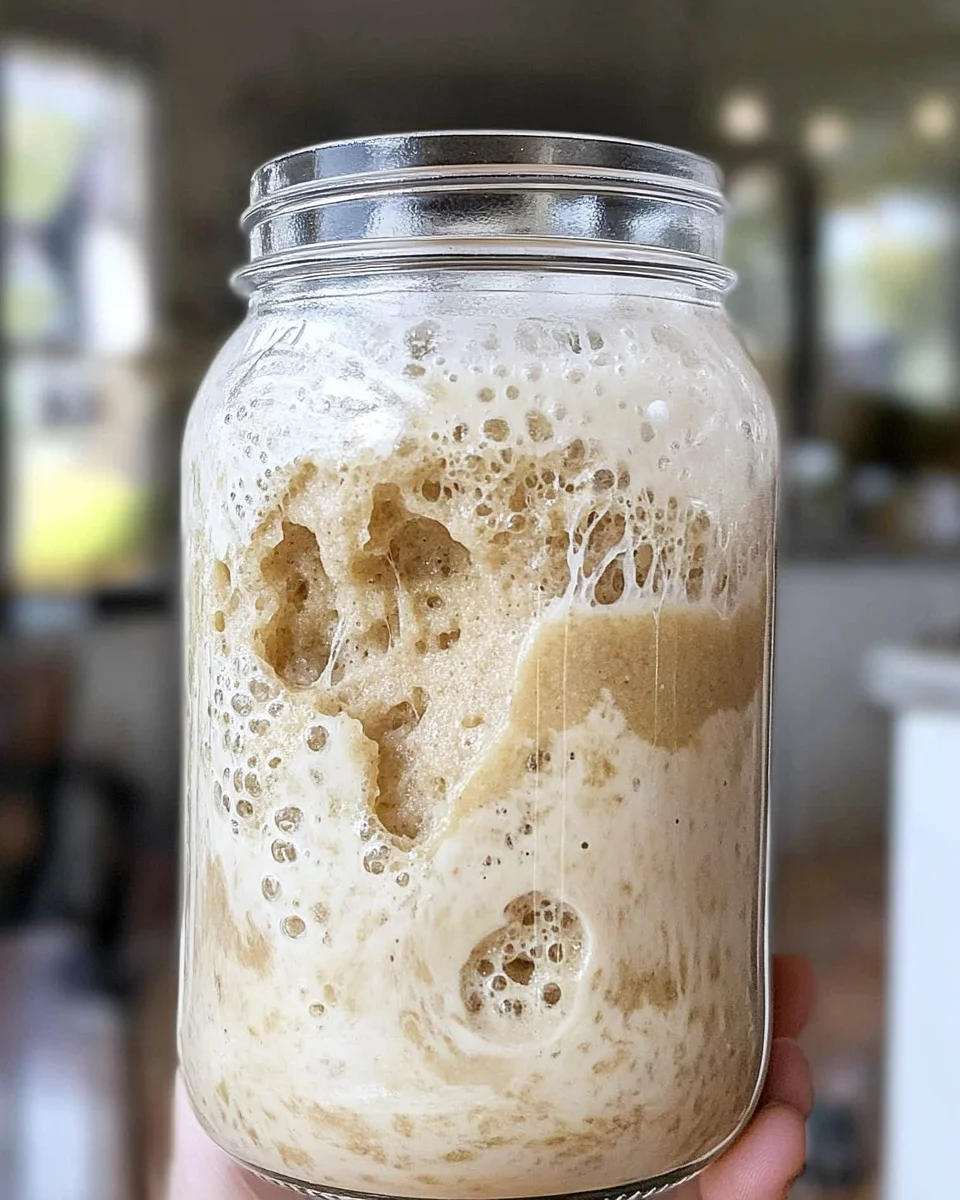
Continue feeding your sourdough starter daily for about a week. You’ll notice it becoming more bubbly and rising in volume as it develops strength.
With these steps, you’ll cultivate a thriving sourdough starter ready for all your baking adventures!
How to Serve Sourdough Starter
Sourdough starter is a versatile ingredient that can elevate your homemade bread and other dishes. Here are some creative serving suggestions to make the most out of your sourdough starter.
Use in Bread Recipes
- Classic Sourdough Bread: Use your starter to bake a traditional loaf with a crispy crust and tangy flavor.
- Sourdough Pancakes: Incorporate the starter into pancake batter for extra fluffiness and a unique taste.
Incorporate into Pasta
- Homemade Sourdough Pasta: Blend sourdough starter into your pasta dough for a delightful twist on classic noodles.
- Sourdough Noodles: Use your starter to make chewy, flavorful noodles perfect for soups or stir-fries.
Create Baked Goods
- Sourdough Muffins: Add sourdough starter to muffin recipes for moisture and added depth of flavor.
- Sourdough Pizza Crust: Mix your starter into pizza dough for a crispy, fermented crust that complements any topping.
Unique Sauces and Dressings
- Sourdough Ranch Dressing: Whisk sourdough starter into buttermilk for a creamy dressing perfect for salads.
- Sourdough BBQ Sauce: Blend with spices and tomatoes to create a tangy barbecue sauce that pairs well with grilled meats.
Fermented Beverages
- Sourdough Ginger Ale: Utilize your starter to ferment ginger ale for a bubbly, probiotic-rich drink.
- Sourdough Kvass: Make this traditional Slavic beverage by using your starter in the fermentation process.
How to Perfect Sourdough Starter
Getting your sourdough starter just right can take some practice, but these tips will help you achieve perfection.
- Regular Feeding: Feed your sourdough starter every 12 hours to keep it active and bubbly.
- Use the Right Flour: Whole wheat or unbleached all-purpose flour works best for nurturing the yeast in your starter.
- Optimal Temperature: Keep your starter at about 75°F for ideal fermentation; too cold or hot can slow down its activity.
- Watch for Bubbles: Look for bubbles on the surface as an indicator that it’s ready to use; this shows it’s active and alive.
- Smell Test: A pleasant, slightly tangy smell indicates a healthy starter; avoid any off-putting odors.
- Consistency Matters: Aim for a thick pancake batter consistency when mixing water and flour; this helps create the right environment for fermentation.
Best Side Dishes for Sourdough Starter
When using sourdough starter, pairing it with delicious side dishes can enhance your meal experience. Here are some great options to consider:
- Garlic Butter Roasted Potatoes: Crispy, buttery potatoes flavored with garlic make an excellent accompaniment.
- Herb-Crusted Vegetables: Roasted seasonal vegetables tossed with fresh herbs provide bright flavors alongside sourdough bread.
- Creamy Coleslaw: A tangy coleslaw balances the rich flavors of sourdough dishes perfectly.
- Chilled Cucumber Salad: Refreshing cucumbers in a light dressing complement warm sourdough creations well.
- Spiced Lentil Soup: Hearty lentil soup pairs wonderfully with toasted sourdough slices or croutons.
- Cheesy Cauliflower Gratin: This indulgent dish offers creamy textures that contrast nicely with crusty bread.
Common Mistakes to Avoid
Making a sourdough starter can be simple, but there are common pitfalls that can hinder your success. Here are some mistakes to watch out for:
- Ignoring temperature: Sourdough starters thrive at specific temperatures. If it’s too cold or too hot, your starter may not develop properly. Aim for around 75°F for ideal fermentation.
- Using the wrong flour: The type of flour you choose matters! Whole wheat flour is preferred as it contains more nutrients. Be cautious with bleached flour; it may not give the best results.
- Neglecting regular feedings: A starter needs constant nourishment. Skipping feedings can lead to a weak starter that won’t rise your bread. Make sure to feed it daily during the initial stages.
- Not observing bubbles: Bubbles indicate that fermentation is happening! If you don’t see them within a few days, it might mean your starter isn’t active enough. Monitor its progress closely.
- Using chlorinated water: Tap water often contains chlorine which can harm yeast. Always use filtered or bottled water for the best results.
Storage & Reheating Instructions
Refrigerator Storage
- Store your sourdough starter in the fridge if you need to take a break from baking.
- Use a glass jar with a lid, leaving some space for expansion.
- It can be stored for up to two weeks without feeding.
Freezing Sourdough Starter
- For long-term storage, freeze the starter in an airtight container.
- It can last for several months when frozen.
- Thaw it by placing it in the fridge overnight before reviving.
Reheating Sourdough Starter
- Oven: Place your starter in an oven set to low heat (around 100°F) for about 30 minutes to warm it up gently.
- Microwave: Heat a small amount of water in a microwave-safe bowl, then place the jar of starter inside (without lid) and cover loosely with a paper towel for about 10 seconds.
- Stovetop: Put the jar in a pot with warm water on low heat, ensuring no water gets into the jar, and warm gently.
Frequently Asked Questions
Here are some common questions about making and using a sourdough starter.
What is a Sourdough Starter?
A sourdough starter is a fermented mixture of flour and water that captures wild yeast and bacteria from the environment, allowing you to bake bread without commercial yeast.
How long does it take to make my Sourdough Starter?
Typically, it takes about 5-7 days for your sourdough starter to become fully active and ready for baking.
Can I use all-purpose flour instead of whole wheat flour?
Yes, you can use all-purpose flour, but whole wheat flour is recommended as it has more nutrients that help nourish the yeast.
How do I know when my Sourdough Starter is ready?
Your sourdough starter is ready when it has doubled in size, shows plenty of bubbles, and has a pleasant tangy aroma.
How often should I feed my Sourdough Starter?
If kept at room temperature, feed your sourdough starter once every 12-24 hours. If refrigerated, feeding every week is usually sufficient.
Final Thoughts
Making your own sourdough starter opens up endless possibilities for delicious homemade bread. It’s not only easy but also customizable based on your preferences. Experiment with different flours or hydration levels to create something uniquely yours! So gather your ingredients and start this delightful journey today!
Bread Recipes
Sourdough Starter
Creating your own sourdough starter is a rewarding journey that enhances your baking experience and brings delicious flavors to your homemade bread. With just flour and water, you can cultivate this natural yeast mixture that not only elevates the taste of traditional bread but also opens up a world of culinary possibilities. Whether you’re making classic sourdough loaves, pancakes, or even pasta, this versatile starter is both cost-effective and sustainable. Plus, nurturing your starter and witnessing its growth adds a unique joy to your kitchen adventures.
- Prep Time: 10 minutes
- Cook Time: N/A
- Total Time: 0 hours
- Yield: Approximately 1 active sourdough starter ready for baking
- Category: Bread
- Method: N/A
- Cuisine: N/A
Ingredients
- ½ cup flour (whole wheat or unbleached all-purpose)
- ¼-⅓ cup water (ideally at 75°F)
- Glass jar (or bowl)
- Paper towel
- Rubber band
Instructions
- In a glass jar or bowl, combine ½ cup of flour with ¼-⅓ cup of water. Stir until you achieve a smooth consistency without dry clumps.
- Cover the mixture with a paper towel and secure it with a rubber band to allow airflow while preventing contamination.
- Let it sit at room temperature for about 24 hours to encourage fermentation from wild yeast.
- After 24 hours, check for bubbles on the surface. If present, discard half of the mixture and feed it with another ½ cup of flour and ¼-⅓ cup of water. Mix well and cover again.
- Repeat this feeding process daily for approximately one week until your starter is bubbly and has risen significantly.
Nutrition
- Serving Size: 1 tablespoon
- Calories: 55
- Sugar: 0g
- Sodium: 0mg
- Fat: 0g
- Saturated Fat: 0g
- Unsaturated Fat: 0g
- Trans Fat: 0g
- Carbohydrates: 12g
- Fiber: 0g
- Protein: 2g
- Cholesterol: 0mg